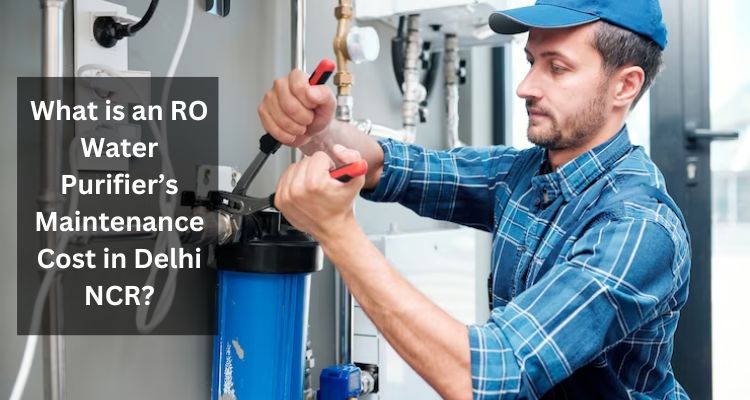
If you own a Reverse Osmosis (RO) water filtration system, you probably appreciate the clean, pure water it provides. But like any appliance, your RO system requires maintenance to ensure it continues working efficiently. One crucial aspect of RO system maintenance is replacing the O-rings. In this comprehensive guide, we will walk you through the process step by step, so you can confidently maintain your system and enjoy the benefits of crystal-clear water.
Understanding the Role of O-Rings
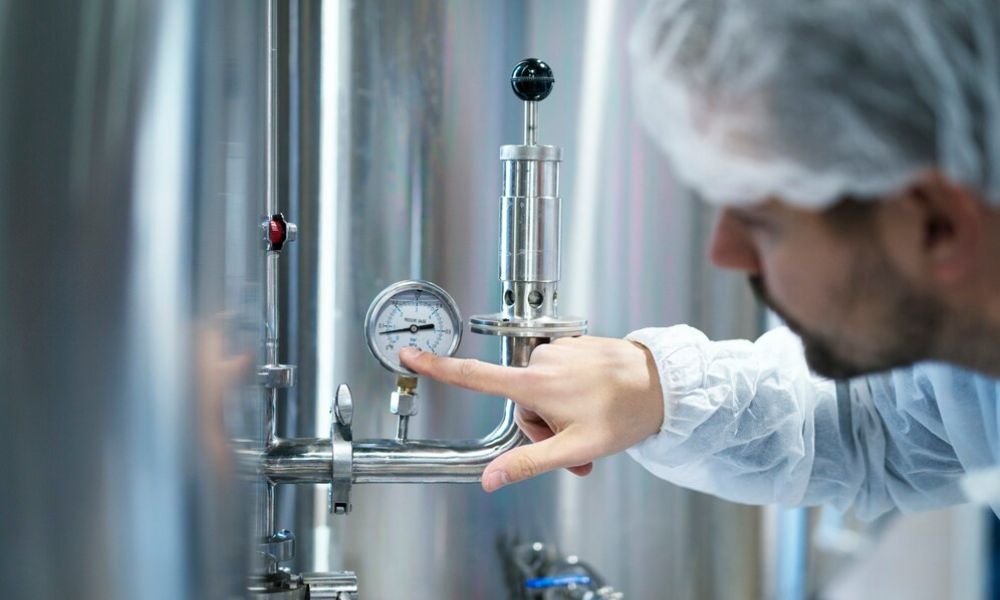
O-rings are small, circular seals that play a vital role in RO systems. They are typically found in filter housings, membrane housings, and other critical connections. These rubber or silicone rings create a watertight seal, preventing leaks and maintaining the system’s integrity. Over time, O-rings may wear out or become damaged, which can lead to water leaks and decreased system performance.
When to Replace O-Rings
Determining when it’s time to replace your RO system’s O-rings is essential. Here are a few signs that indicate your O-rings may need replacement:
- Leaks: If you notice water leaking from any part of your RO system, it’s a clear sign that the O-rings may be compromised.
- Difficulty in Installation: If you find it challenging to reassemble your system after maintenance, the O-rings may have lost their flexibility and seal.
- Decreased Water Quality: A drop in water quality or a decrease in the water production rate may also be linked to deteriorating O-rings.
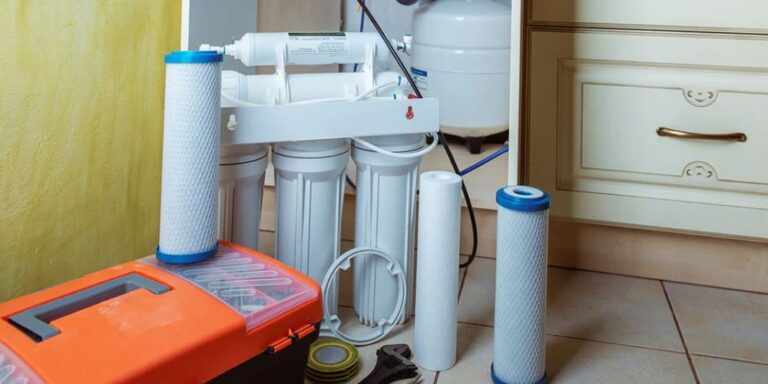
Gathering the Necessary Tools
Before you start the replacement process, gather the following tools and materials:
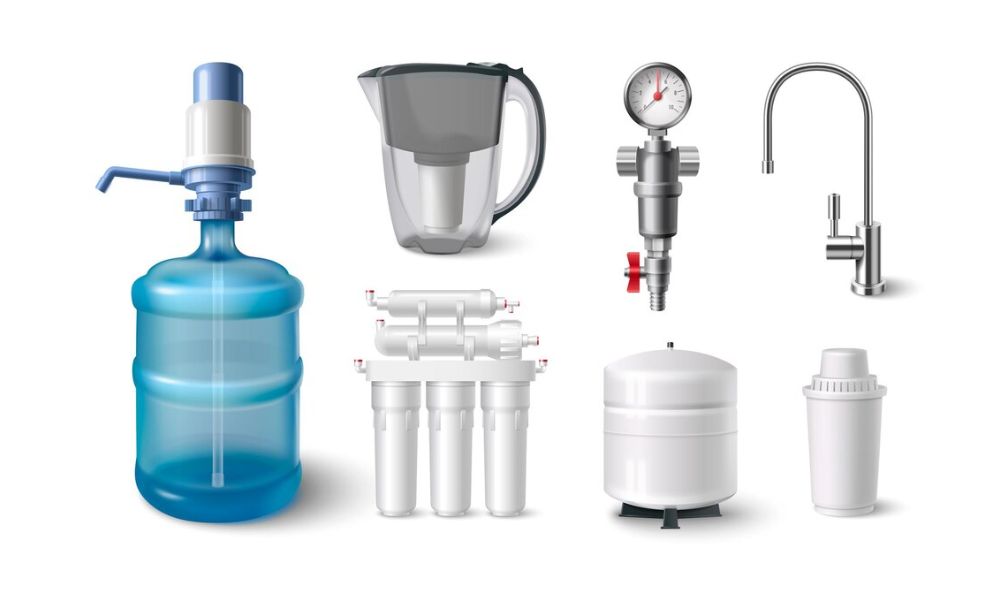
• New O-rings compatible with your RO system
• Wrenches or pliers
• Lubricant (silicone-based)
• Towels or rags
• A bucket or container
• The Replacement Process
- Turn off the Water Supply: Begin by turning off the water supply to your RO system. This can typically be done by shutting off the water inlet valve or by disconnecting the system from the water source.
- Release Pressure: Open the faucet connected to your RO system to relieve any built-up pressure.
- Disconnect Housings: Use wrenches or pliers to carefully remove the filter and membrane housings where the O-rings are located. Be gentle to avoid damaging the housings.
- Remove the Old O-Rings: Take out the old O-rings and set them aside. Clean any debris or residue from the housing surfaces.
- Lubricate the New O-Rings: Apply a small amount of silicone-based lubricant to the new O-rings. This will make installation easier and help create a proper seal.
- Install the New O-Rings: Carefully place the lubricated O-rings into the housing grooves, ensuring they sit properly and don’t twist.
- Reassemble the System: Reattach the filter and membrane housings to the RO system. Make sure they are secured snugly but not overtightened, which can damage the O-rings.
- Turn on the Water Supply: Gradually turn on the water supply and check for any leaks. If you spot any leaks, turn off the water and recheck the O-ring installation.
- Check for Leaks: Once you’ve turned the water supply back on and ensured there are no leaks, monitor the system for any signs of water leakage for the next few hours.
- Purge the System: It’s essential to flush the system and remove any trapped air or contaminants. Discard the first few gallons of water to ensure your system is operating at its best.
Conclusion
Regular maintenance of your RO system is vital for ensuring the purity of your drinking water. Replacing O-rings is a simple yet crucial part of this process. By following the steps outlined in this guide, you can prevent leaks, maintain water quality, and extend the life of your RO system.
Remember that if you ever feel unsure or uncomfortable with the replacement process, it’s a good idea to seek professional help. And for quality replacement parts and expert advice, consider checking out ROService.Center. They offer a wide range of RO system accessories and a knowledgeable team to assist you with all your water filtration needs. Keep your RO system in top shape and continue enjoying the benefits of clean, pure water.
Don’t miss : The Crucial Role of Water Testing in RO System Diagnosis and Repair